
Give the same feature request to a junior and a senior developer and you will often see two very different first hours. The junior developer opens the editor and starts typing. The senior developer opens a notebook, asks a few annoying questions, sketches some boxes, and only then writes code. The senior usually ships sooner, with fewer rewrites.
That difference is not talent or typing speed. It is a repeatable habit: breaking a complex problem into small, well-understood pieces before committing to a solution. This guide walks through that habit step by step, with an example from the kind of ERP-style system many of us build with Laravel, PostgreSQL and React.
Why Jumping Straight Into Code Backfires
Code is the most expensive place to discover that you misunderstood the problem. Once you have written models, migrations, API endpoints and UI around a wrong assumption, every fix touches several layers. Common symptoms of starting too early include:
Building the "happy path" and discovering the edge cases during QA, or in production.
Creating database tables that do not fit the second or third requirement.
Writing one giant function because there was never a clear idea of the parts.
Getting stuck for hours because the problem was too large to hold in your head.
Thinking first is not about writing long design documents. For most tasks, 20 to 40 minutes of structured thinking is enough to avoid days of rework.
Step 1: Restate the Problem in Your Own Words
Senior developers start by translating the request into a short, precise statement. If you cannot explain the problem in two or three sentences, you do not understand it yet.
Take a typical ticket: "Managers should approve purchase requests." A restated version might be:
When an employee submits a purchase request, it must be approved by their department manager before it can become a purchase order. Requests above a certain amount also need finance approval. Rejected requests return to the employee with a reason.
Writing this down immediately exposes questions: What is "a certain amount"? Can a manager approve their own request? What happens if the manager is on leave? Ask these questions now, while changing the answer costs nothing.
Step 2: Define Inputs, Outputs and Constraints
Every problem, from a sorting function to a payroll module, transforms some input into some output under some constraints. Make all three explicit:
Inputs: a submitted purchase request, the requester, their department, the amount.
Outputs: an approval record, a status change, notifications, and eventually a purchase order.
Constraints: only authorized approvers can act, every action must be auditable, and the flow must not block if one approver is unavailable.
Constraints are where most of the real complexity hides. Performance limits, permissions, data volume, and integrations with existing systems often matter more than the core logic.
Step 3: Split the Problem Into Smaller Pieces
Now break the problem down until each piece is small enough to understand, build and test on its own. A useful rule: if you cannot describe a piece in one sentence, split it again.
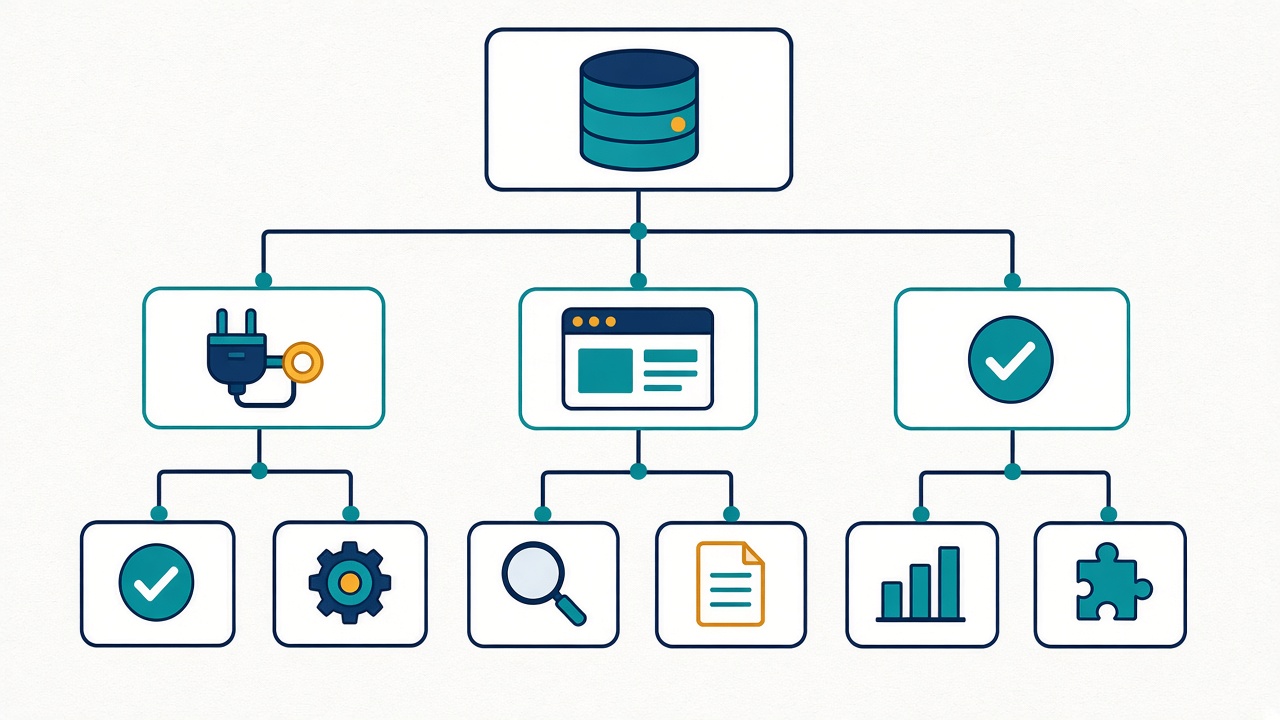
For the approval feature, the breakdown might look like this:
Data: store requests, approval steps and decisions.
Rules: decide which approvers a request needs, based on department and amount.
Actions: approve, reject with a reason, and resubmit.
Permissions: only the assigned approver (or a delegate) can act on a step.
Notifications: tell the next approver and the requester what happened.
UI: a list of pending approvals and a detail screen with actions.
Notice that each piece maps naturally to a layer of the application: migrations and models, a service class, policies, queued notifications and React components. Good decomposition often hands you the architecture for free.
Step 4: Find the Riskiest Part and Tackle It First
Not all pieces are equally hard. Experienced developers ask, "Which part am I least sure about?" and investigate that first. In this example, the risky part is the rule engine: deciding which approvers apply. The UI and notifications are well-trodden paths.
A quick way to de-risk is to write the core rule as a small, pure function before building anything around it:
final class ApprovalRouteResolver
{
    public function __construct(private int $financeThreshold) {}

    /** @return string[] ordered list of approver roles */
    public function resolve(PurchaseRequest $request): array
    {
        $route = ['department_manager'];

        if ($request->amount >= $this->financeThreshold) {
            $route[] = 'finance';
        }

        return $route;
    }
}
This class has no database calls, no HTTP and no UI. You can unit test every rule in seconds, and when the business adds "IT purchases also need IT approval", you know exactly where that change belongs.
Step 5: Work Through Concrete Examples and Edge Cases
Abstract designs feel correct until you run real examples through them. Write a short table of scenarios and walk each one through your plan:
A small request from a regular employee: manager approves, done.
A large request: manager approves, then finance approves.
The requester is the department manager: who approves instead?
The manager rejects, the employee edits and resubmits: does approval restart from step one?
The approver leaves the company while a request is pending.
Each scenario either confirms your design or reveals a gap. These scenarios also become your test cases later, so this time is never wasted.
Step 6: Sketch the Data and the Flow
Before writing migrations, sketch the main entities and how a request moves between states. A simple state list such as draft → pending → approved | rejected prevents a lot of confusion. For the data, a rough outline is enough:
purchase_requests (id, requester_id, department_id, amount, status, ...)
approval_steps    (id, purchase_request_id, role, approver_id, position, status)
approval_actions  (id, approval_step_id, actor_id, action, reason, created_at)
Separating steps from actions gives you an audit trail almost by default, which ERP users and auditors will ask for sooner or later. A sketch like this takes ten minutes and is far cheaper to change than a deployed schema.
Step 7: Plan Small, Shippable Increments
Finally, order the pieces so that each step produces something working and testable. A sensible order for this feature:
Route resolver with unit tests.
Tables, models and a service that creates approval steps on submission.
Approve and reject endpoints protected by policies.
Notifications through queued jobs.
The React screens for approvers and requesters.
Small increments make code review easier, keep pull requests focused, and let you show progress early. If priorities change halfway through, you still have working parts instead of a half-finished tangle.
Habits That Make This Process Stick
Write before you code
A short note in the ticket or a markdown file with the restated problem, the pieces and the open questions is enough. Writing forces clarity that thinking alone often skips.
Timebox the thinking
Decomposition is not an excuse to avoid coding. Set a limit, such as 30 minutes for a medium task, then start building the riskiest piece. You will learn more once code meets reality.
Talk it through with someone
Explaining your breakdown to a teammate, or even writing it as if you were explaining it, quickly reveals fuzzy parts. Many bugs are prevented in a five-minute conversation.
Revisit the plan as you learn
The breakdown is a map, not a contract. When you discover something new, update the plan instead of forcing the code to match an outdated idea.
A Quick Checklist Before You Write Code
Can I state the problem in two or three sentences?
Do I know the inputs, outputs and constraints?
Is every piece small enough to describe in one sentence?
Have I identified and explored the riskiest part?
Have I walked through real examples and edge cases?
Do I have a rough data model and state flow?
Is the work ordered into small, testable increments?
Conclusion
Breaking down complex problems is one of the clearest differences between junior and senior developers, and it is entirely learnable. Restate the problem, define inputs and constraints, split it into small pieces, attack the risky part first, test your plan with real examples, sketch the data, and ship in increments. Practice it on your next ticket, even a small one, and you will find that the code becomes the easy part.